Set Up Document Categories
To get started, navigate to the account settings and select Project Settings. Here, you can modify your document categories to include the types of documents your team will store and access at the account level.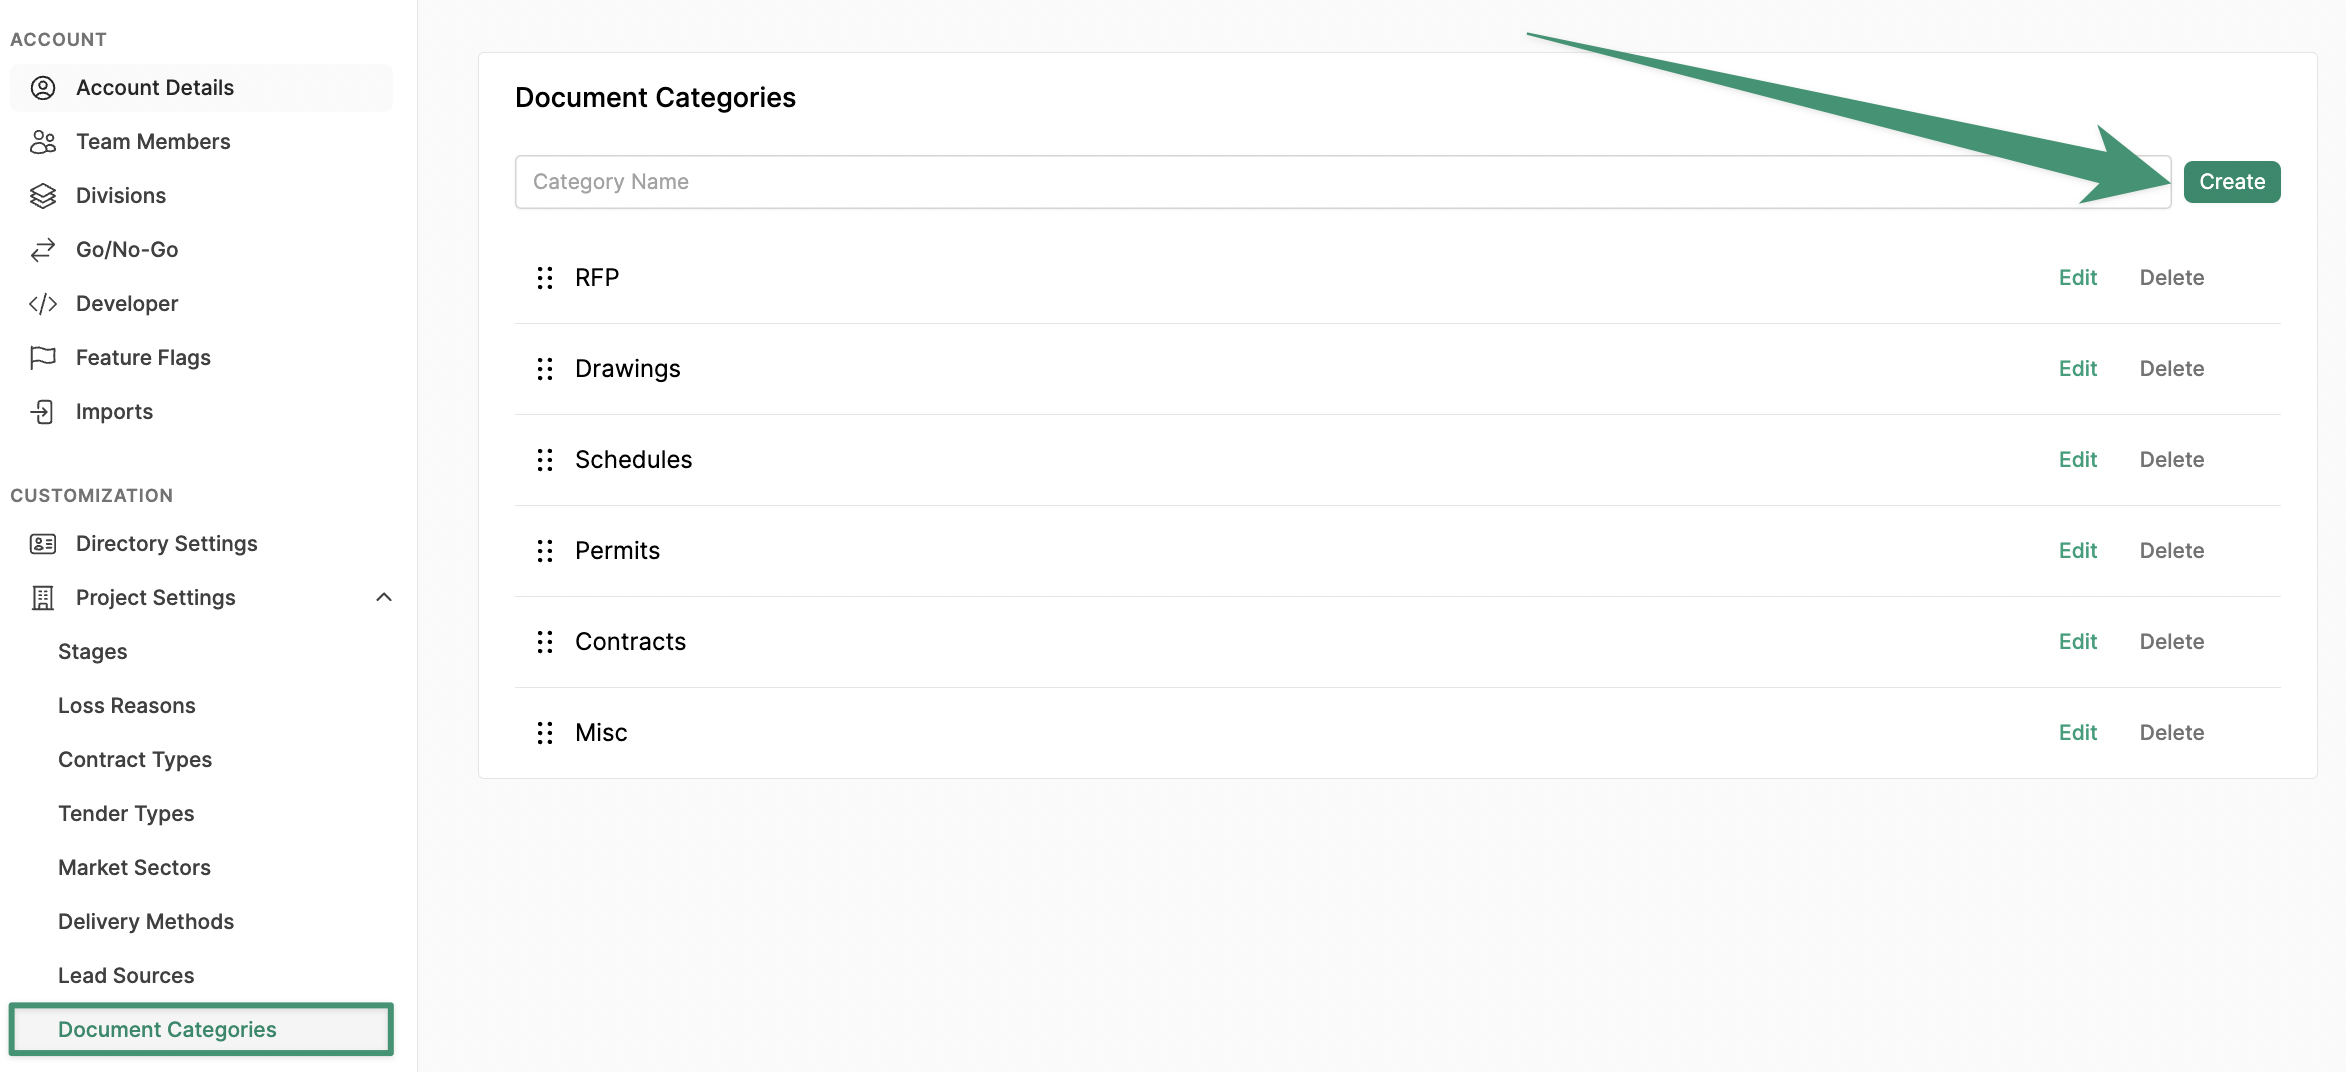
Upload Project Documents
To upload documents, navigate to a project and select the Documents tab.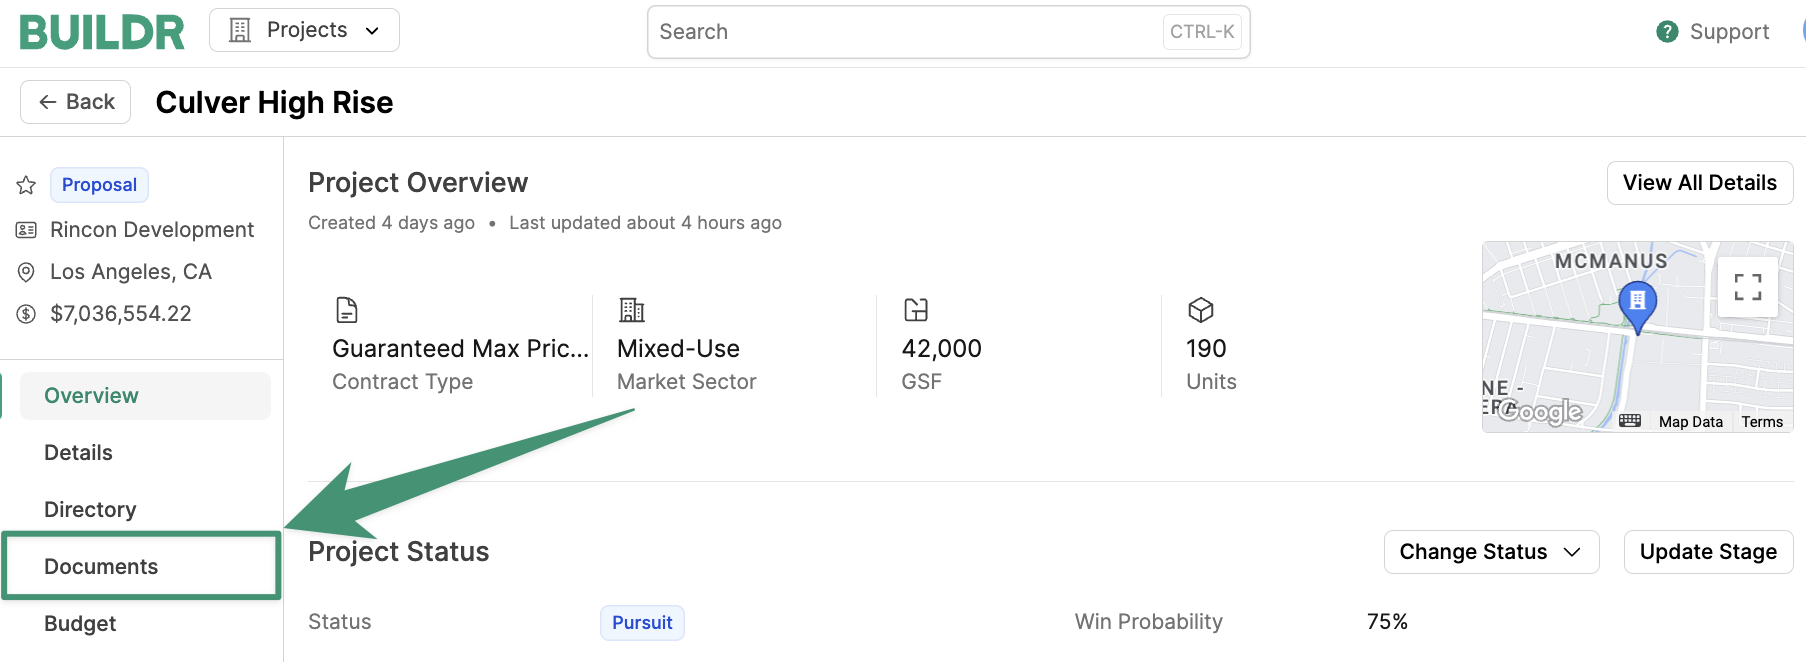
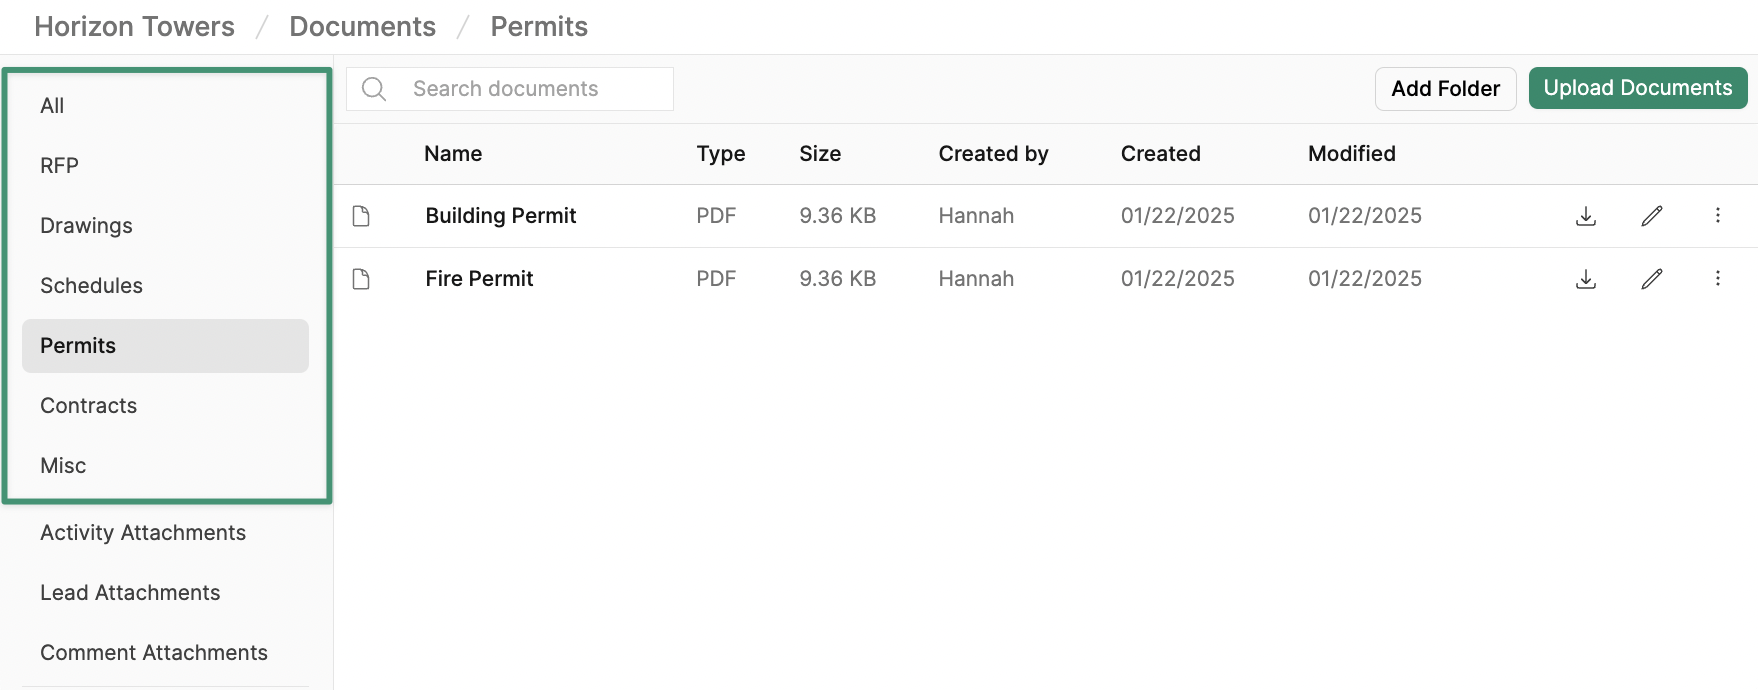
Add Folders
Before uploading your documents, you can set up folders within your categories for more granular organization by clicking “Add Folder.”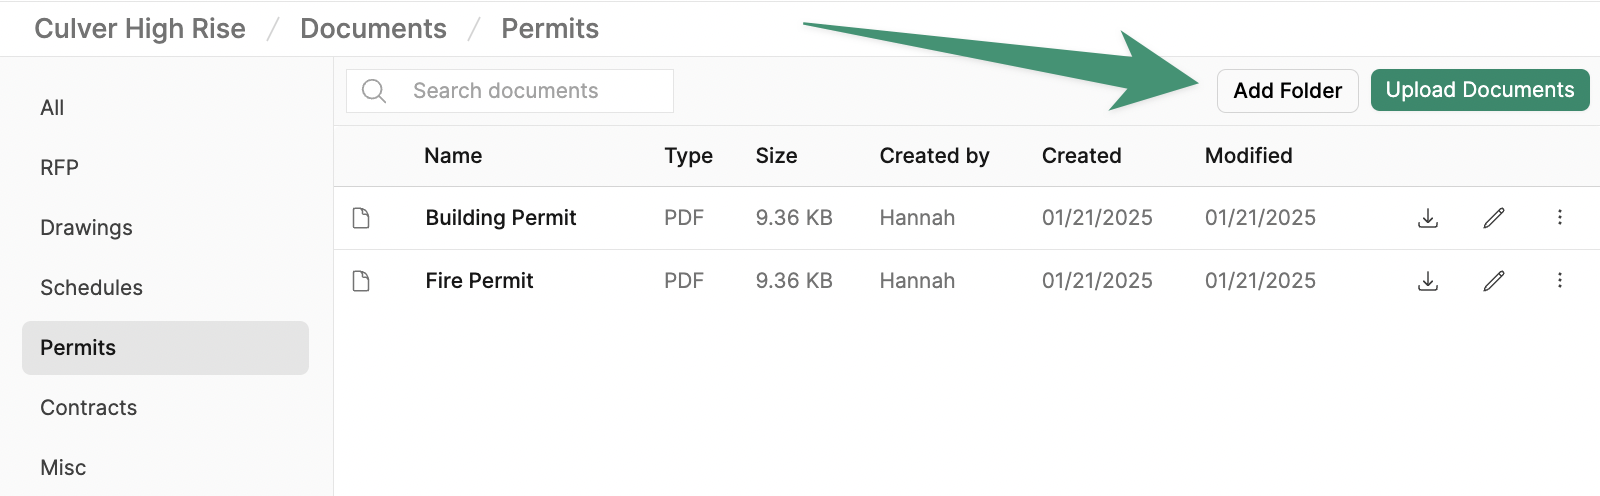
Create.
Upload Documents
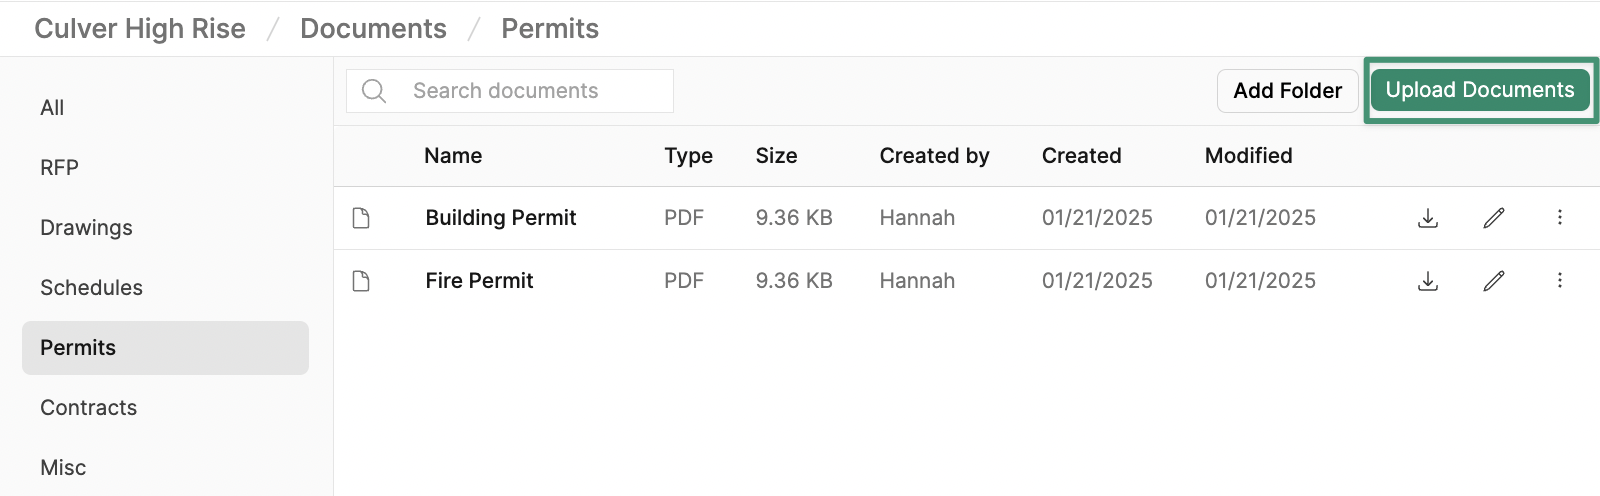
ClickUpload Documents. Next, select the file location (Category, Folder) and upload your file.
Version History
Buildr enables you to upload document revisions and track your version history.Upload Revisions
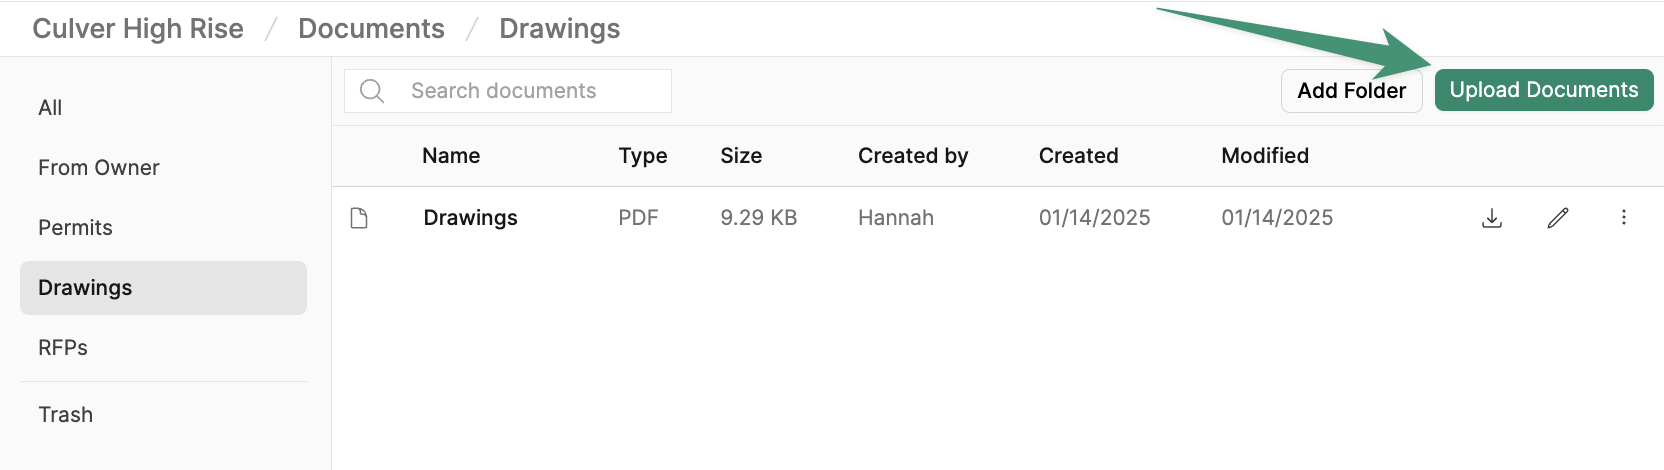
To upload an updated version of a document, check that the file name matches the existing file, and clickUpload Documents. Once the file is uploaded, Buildr will automatically archive the previous version and display the updated document.
View Version History
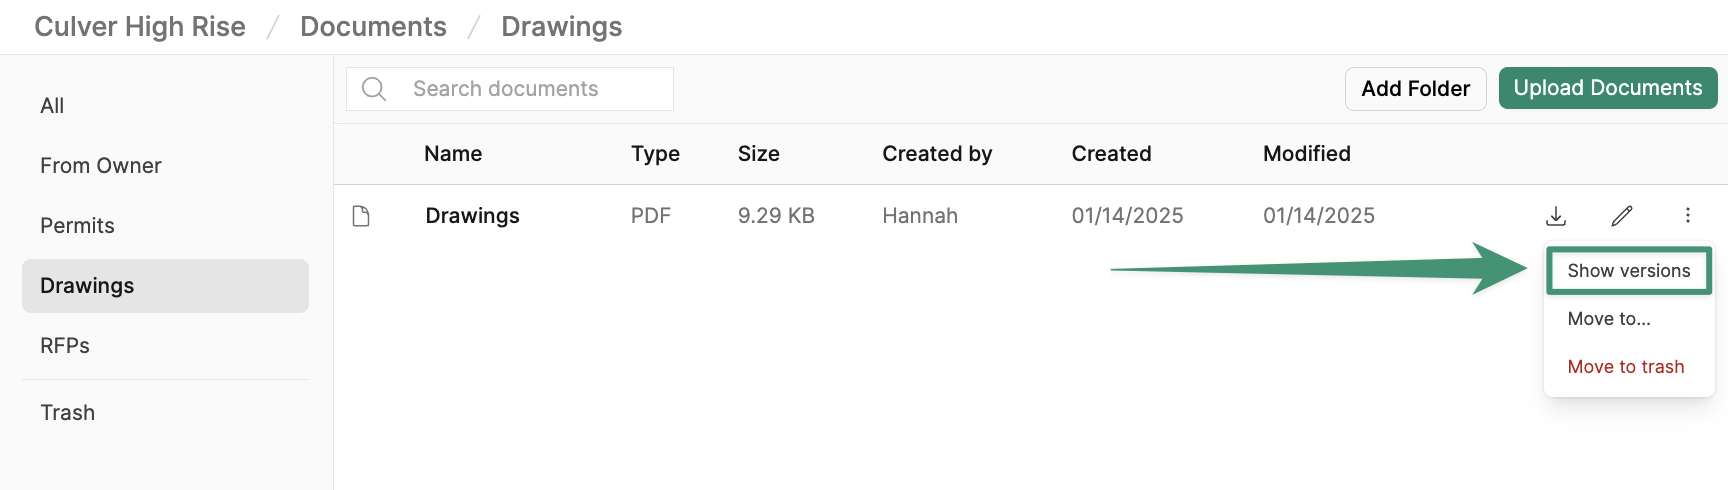
To view the version history of a document, click the menu icon and selectShow Versions.
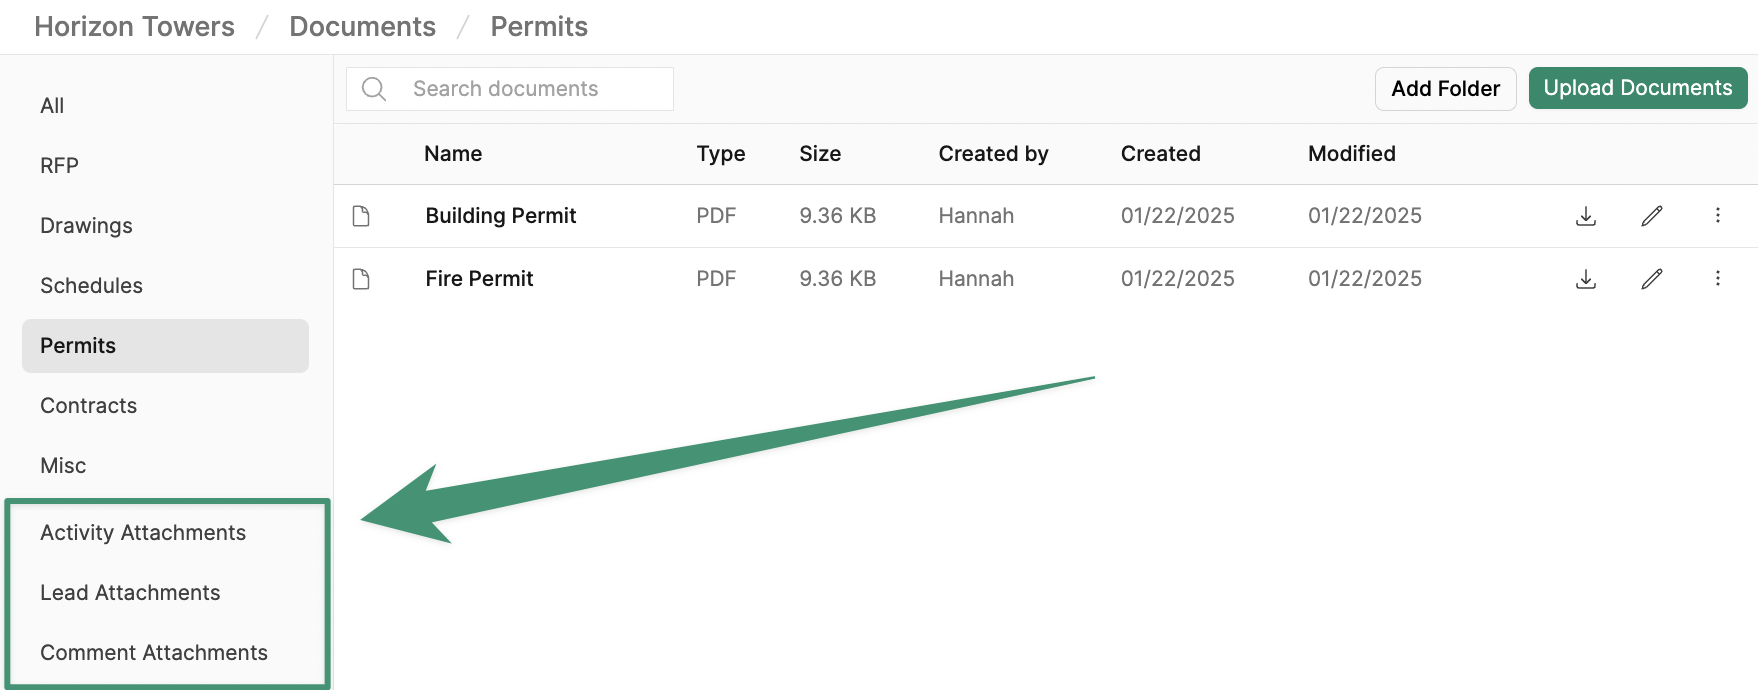
Automated Document Categories
Buildr will automatically store attachments from activities, comments, and leads in the Documents tab. Attachments linked from these items will display in the following categories:- Activity Attachments (Attachments from custom activities)
- Lead Attachments (Attachments from Leads)
- Comment Attachments (Attachments from comments)
Edit File
To edit a file, click the pencil icon, and rename your file.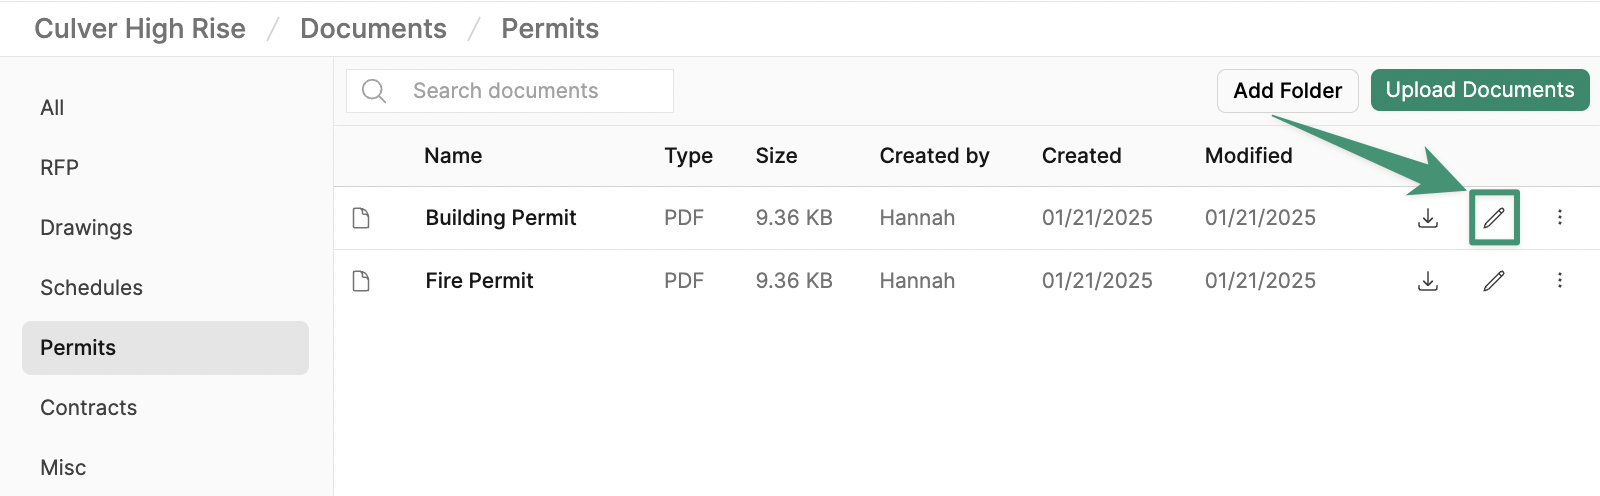
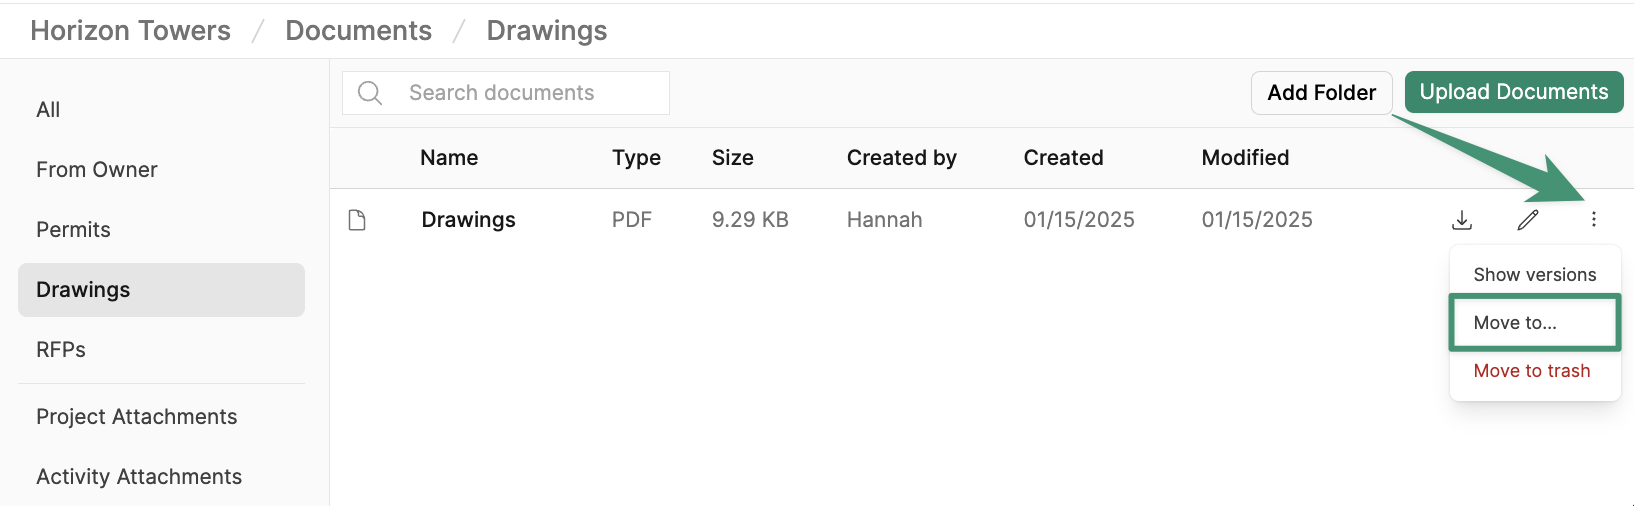
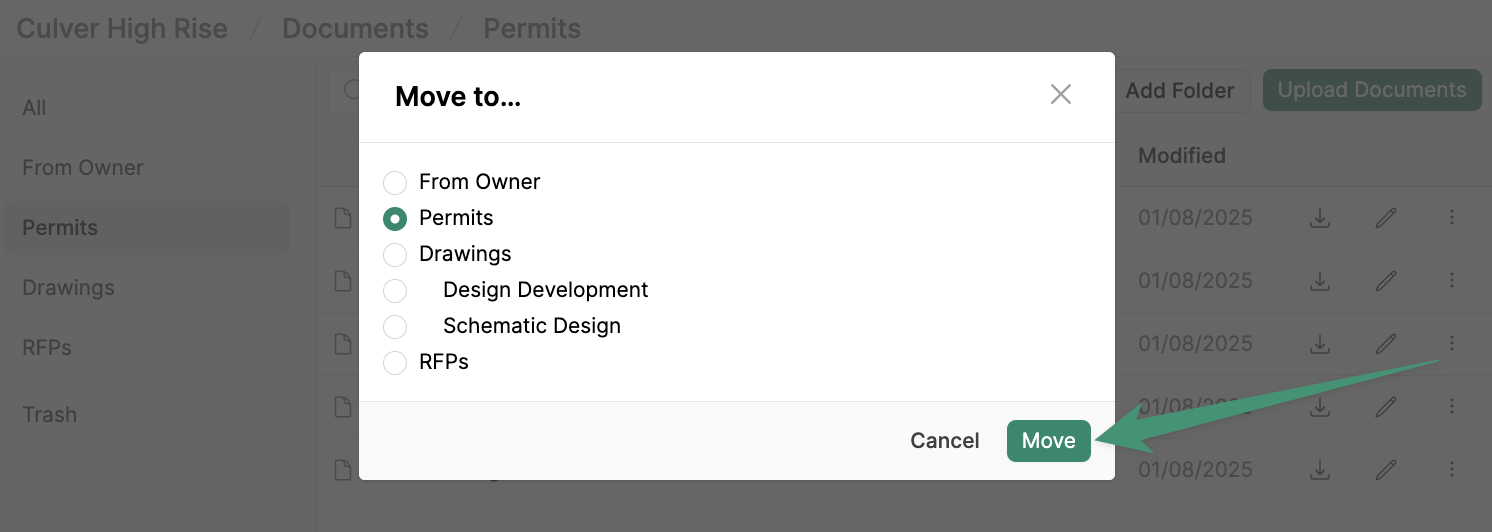
Move File
To move a file to a different folder or category, click the menu icon and selectMove to.
Move.
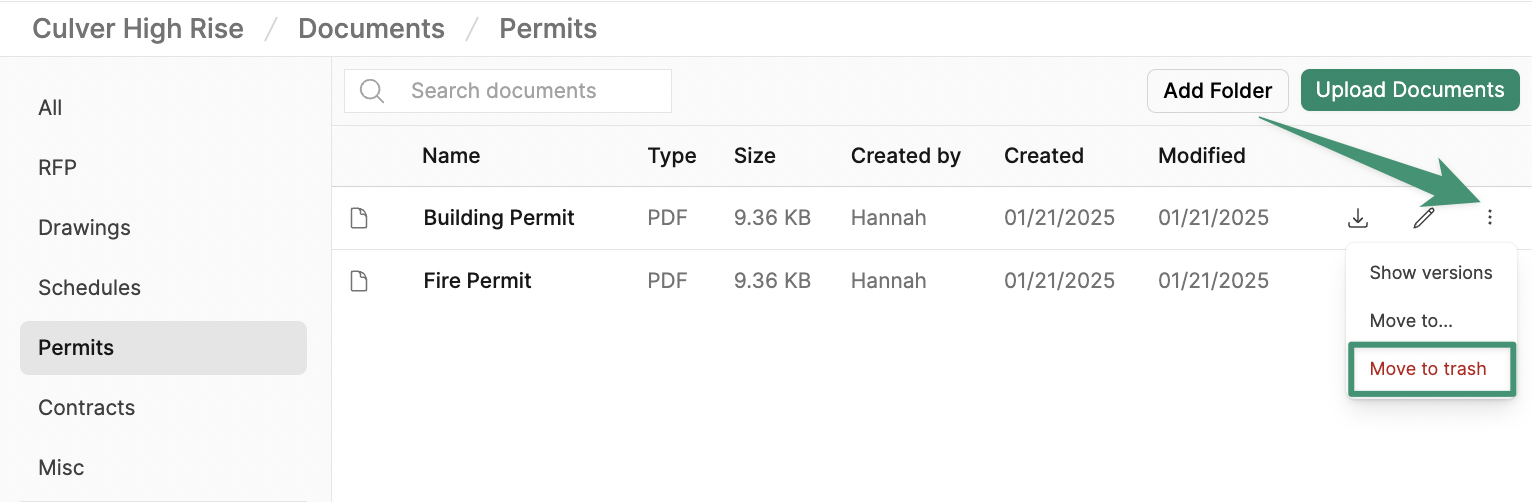
Delete File
To delete a file, select the menu icon and clickMove to Trash.
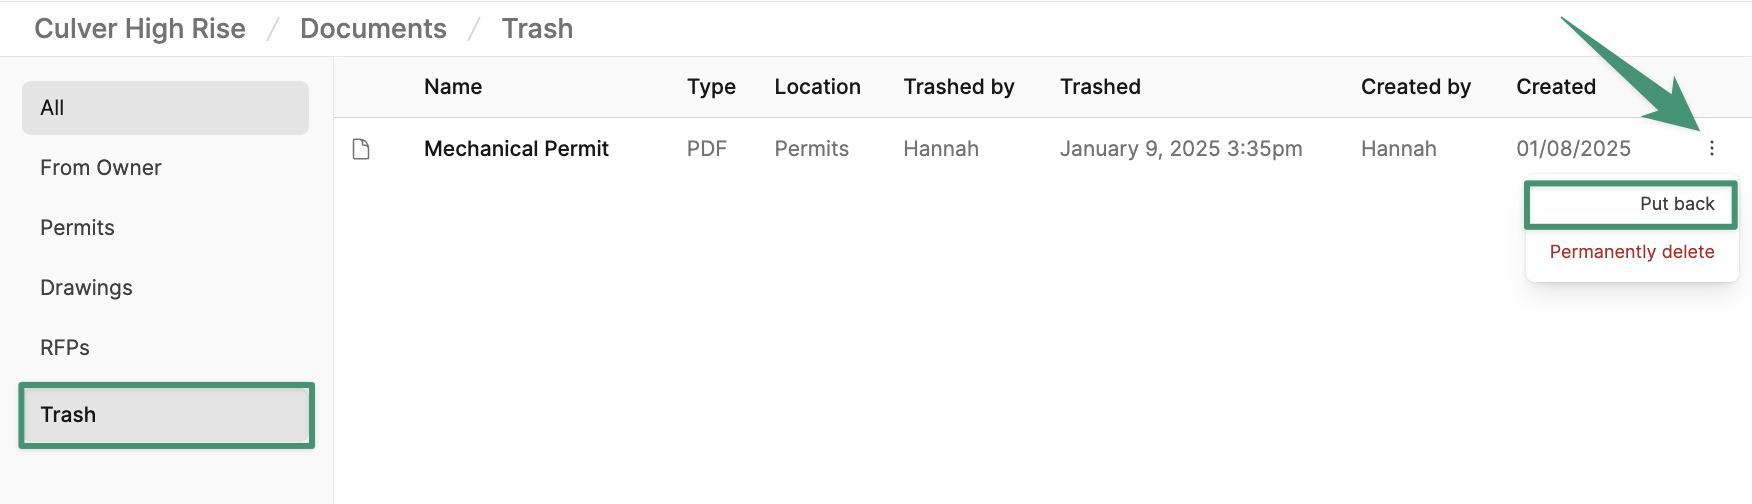
Restore a File
To restore a deleted file, select the Trash tab. Next, navigate to the file you wish to restore and click the menu icon. ClickPut Back, and the file will be restored to its original location.